Growing up, we always used Crisco to make our pie crusts, and they were easy to handle and flaky. However, in high school, my grandma started telling me about the evils of Crisco, and I have been searching for a better ingredient for pies since. I've tried the olive oil pie crusts, the all butter pie crusts, and the non-hydrogenated-shortenings-from-Whole-Foods pie crusts. However, nothing is quite as good as Crisco. Which leaves me with one last thing to try before I either give up on a perfect pie crust or give up on holding out on Crisco: Lard. Specifically, leaf lard, the least meaty-smelling lard found on a pig. And the ingredient my great grandma used in her pie crusts.
I eagerly bought two slabs from our farmer's market a few weeks ago, asking as I slipped the packages into my bag, "Now, this is rendered, right?" (Rendered fat is ready to use.) And she said ... No.
So, this weekend, in preparation for holiday baking, I took on the rendering. This is what it looked like. (Warning: Pictures ahead. If you are grossed out by fat, do not go on!)
First, I did some "research" by trying to find someone online who could explain the process to me. Unfortunately, everyone seems to have a slightly different opinion of how it's done, and no one sounds very authorative. And yet, the basics are pretty basic: melt the fat off, strain it, cool it. Other things I read were - low heat, long time, smelly, greasy, outdoors. Hmm... outdoors is not an option for me, but I really don't want a smelly, greasy house either!
I started by chopping up the pieces. I had found someone who mentioned two ways to render the lard - wet rendering and dry rendering. The difference between the two is how much water you put in with the lard. With dry rendering, you just put in a few tablespoons to cover the bottom of the pan until the lard starts melting. With wet rendering, you fill up the pan to cover the lard. Supposedly, the water in the wet rendering helps to keep the fat melting at a low temperature and the resulting lard will have less of a meaty taste. However, with this process, you don't end up with cracklings - those mysterious things referred to in Little House in the Big Woods. But a tasteless lard sounds good for my pie crusts, so I decided to go the wet route.
I chopped up my leaf lard

and added water up to the top of the lard. Then I set the pan on low on my electric stove. Then, fearing greatly those terms "smelly" and "greasy," I set up a fan to blow over the top of our stove out the kitchen window.
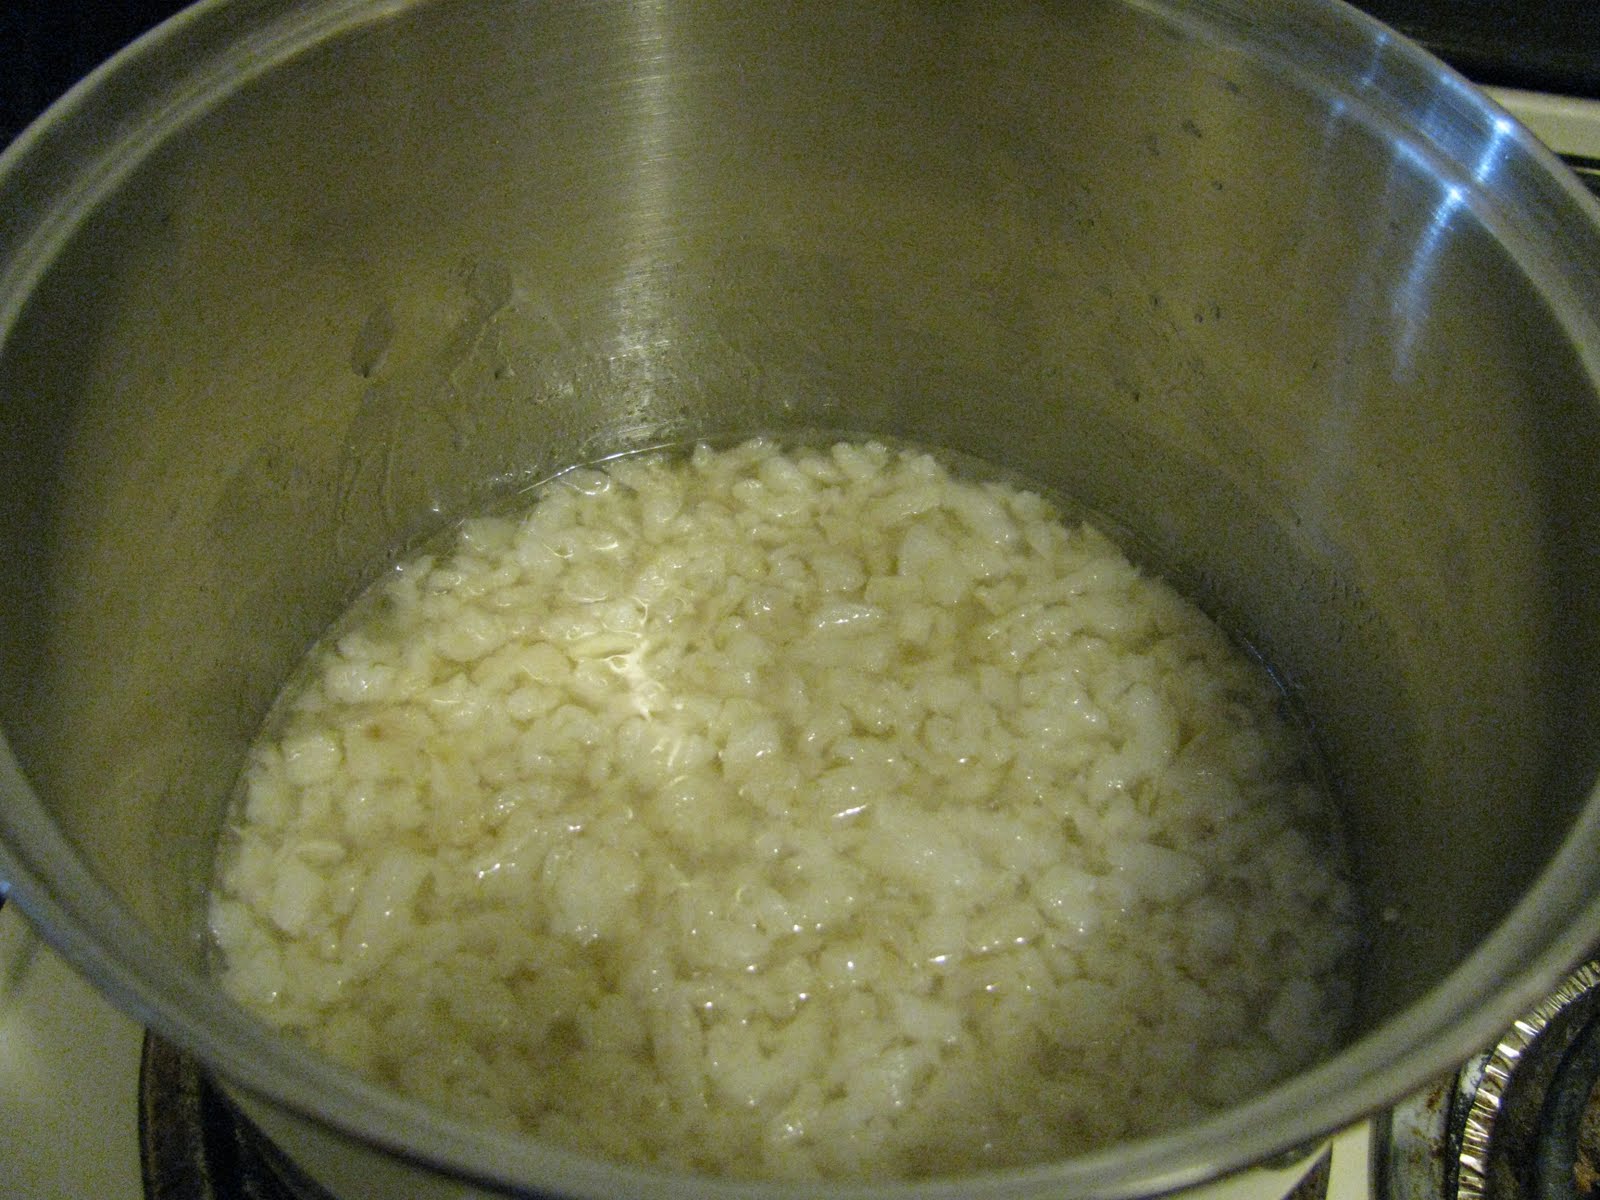
One hour later, the pan looked like this:

Two hours later, it looked like this:
(It was smelly while it was cooking, but I was pleased that I didn't notice any lingering smells this morning when I came back to the kitchen.)
Six hours later, it looked like this:

One source I read had said the process would take six to eight hours, but it didn't seem like we had made much progress in the last four hours, so I decided to quit and to strain off what I had. This was the fruit of my labor (the top part is the fat; the lower part the water):

Not very thrilling for $12 worth of lard! However, the strained part -

still looked awfully fatty, so I decided to throw it back into a pan to see if it gave off any more fat. I skipped the water this time, essentially doing a dry rendering. Soon, my lard had doubled. Once again, I threw the strained part back into the pan to see if it gave off any more fat, and again -

liquid seeped out of those bits. Finally, I was just left with this, which I assume is something like cracklings:

When I had finished, my jar was close to the top.

However, you can see in this jar, there is a line of water in the middle of my lard from one round of straining. Wanting a pure product for my baking, I melted it back down this afternoon, restrained it, and put it into a clean jar to be refrigerated until next week.

I've also done a little reading online of people's opinion of it in pie crusts, and my plan is to use it for half to two-thirds of my fat and butter as the rest. I'll report back on how the baking goes!


9 comments:
i am grossed out and intrigued all at once. But I would most definitely eat the pie you're going to bake. I'm sure it will be amazing.
Fantastic! I cannot wait to see how your crust turns out. Mom used to make her crusts with lard, although now she usually uses crisco and butter combined. My attempt at pie crust was less then perfect-it tasted good and was nominally flaky, but COMPLETELY ugly. I will persevere though. You have encouraged me:)
This is great! It seemed like a lot of work though, how many pie crusts would that amount of lard make?
Axon - Do you know why your mom quit using lard? Did you use butter? My butter crusts are also really ugly; I think it comes from the crust melting in the oven before it bakes. I've heard the trick to overcoming this is to freeze the pie crust before you pop it into the oven, but I've never had a freezer big enough to try it.
Sarah - Good question. I think I have about one pound, which will make four pie crusts.
By the time I had finished, I was looking online for sources of already-rendered leaf lard. I found one place that sold 4 lbs for about $60( that includes refrigerated shipping). That's not a bad deal, considering I spent $12 for my one pound, but I couldn't buy it now, as I have no freezer space. (It will last about a year in the freezer). And even if I had freezer space, I don't know that I'd make 16 pies in a year!
so when I eat a really amazing pie crust it's probably pig lard right? I might be able to bake with it if it was already rendered, but I don't know if I could do the rendering.
Even though I have the space, I don't think I could justify making 16 pies a year either. What else is it used in?
And where's Marianne on this discussion?
Meg - Leaf lard is a higher grade of lard than most of the fat that comes off a pig (like what melts off your bacon) and there's not much per pig, so it's usually reserved for pastry. I'm sure you could also use it in baked good and for frying, though.
Hmmm... if it turns out to be good in the pie crust, maybe we could split a bucket (... or maybe that wouldn't work, since it's supposed to stay refrigerated.)
Oh dear. This post and explanation makes birthing a child at home look like a fun afternoon activity. I am quite certain I can't/won't try this, but I admire you for doing it. You are A-Mazing. I think I'll take my chances with Crisco.
I've only used lard from my bacon run off to bake and found it quite satisfying and it doesn't even really have much of a bacon flavor. I would totally do this if I had the time/space but already rendered lard sounds nicest to me ;)
Can't wait to hear how that crust turns out. I've not tried my hand at pie at all...only quiche crust that was all butter...it too was ugly but then, most of what I bake doesn't look pretty and if it looks pretty it doesn't taste right! ack!
This is so exciting! One of the vendors at the Eugene Farmer's market had leaf lard once, and I'm bummed that I didn't buy any to experiment with.
I just got the cookbook "Fat, and appreciation of a misunderstood ingredient, with recipes", and have been wanting to try all sorts of stuff with lard. I bought a tub at the grocery store (sadly, it was ConAgra, vs. Farmer's Market, but I figured it was a fine started lard, since i've never done anything with it before), and have made some excellent pie crusts with it. I want to do some cookies too. mmmm....
keep us posted!
Where is the farmer's market that you go to?
Post a Comment